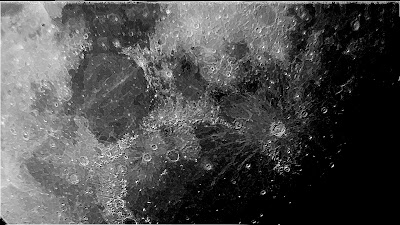
Some of you have asked about astrophotography. Telescope, DSLR, an adapter that replaces your DSLR's lens and goes into the eyepiece focuser tube. This adapter may be prime focus (the focal point of the telescope lands on the DSLR's CCD), or eyepiece projection (eyepiece tube -> adapter and then the focal point of the telescope and an eyepiece between focal point and CCD).
The eyepiece projection tube screws into the adapter that goes into the DSLR's bayonet mount. There should be a thumbscrew that prevents the eyepiece from sliding back into the DSLR. The distance from the eyepiece to the camera sensor is typically adjustable, giving increased magnification.
Now, put the DSLR and adapter into the eyepiece tube. Focus on your target. If you have problems getting to focus, you may have an infocus problem: the focal point of the telescope is too far in to reach the sensor. This is not typical, although I am running into it with my new Televue-85. For refractors, the diagonal adds an inch or two, and removing the diagonal may solve the problem.
Get as sharp a focus as you can; use LiveView mode if your camera supports it. Use the delayed exposure setting; 12 seconds for the telescope to stop shaking from you hitting the trigger seems to work well for me.
Single Photo
The tradeoff of ISO and exposure time is an art. At prime focus and even with lower powered eyepiece projection on the Moon, ISO 100 works well. Use whatever exposure your camera suggests. Be prepared to adjust. Take shots several times shorter and longer. LiveView mode will also give you an idea where to set exposure time and ISO.
Video
This may be unobvious. Video takes lots of frames, each of which will be defective in its own unique way. On my camera, it seems to default to ISO 3200. The video will be quivering (atmospheric turbulence):


No comments:
Post a Comment